Moving to RadarSend
This guide walks through switching to RadarSend without our help: connect your sending service, set up your domain, bring over your contacts, and cut over safely. The setup and import wizards cover most of it, and most moves take an hour or two of your time.
If you’d rather we handle it, tell us about your setup and we’ll send back a plan at no charge.
Before you start#
- A sending service account. Amazon SES, SendGrid, Mailgun, Resend, or Mailjet. If you don’t have one yet, the sending service guides walk you through creating it. New Amazon SES accounts start in a sandbox, and AWS usually approves production access in about a day, so start that part first.
- Access to your domain’s DNS. You’ll add a few records for sending and tracking. If someone else manages DNS for you, let them know it’s coming.
- An export from your current tool. Include unsubscribed and bounced contacts, not only active ones. See Exporting from your current tool below.
- A list of the automations you rely on. Welcome series, re-engagement, anything triggered by a form or a purchase. You’ll rebuild these as sequences.
- Your current tool, still running. You’ll switch over once everything is tested in RadarSend.
Step by step#
1. Connect your sending service#
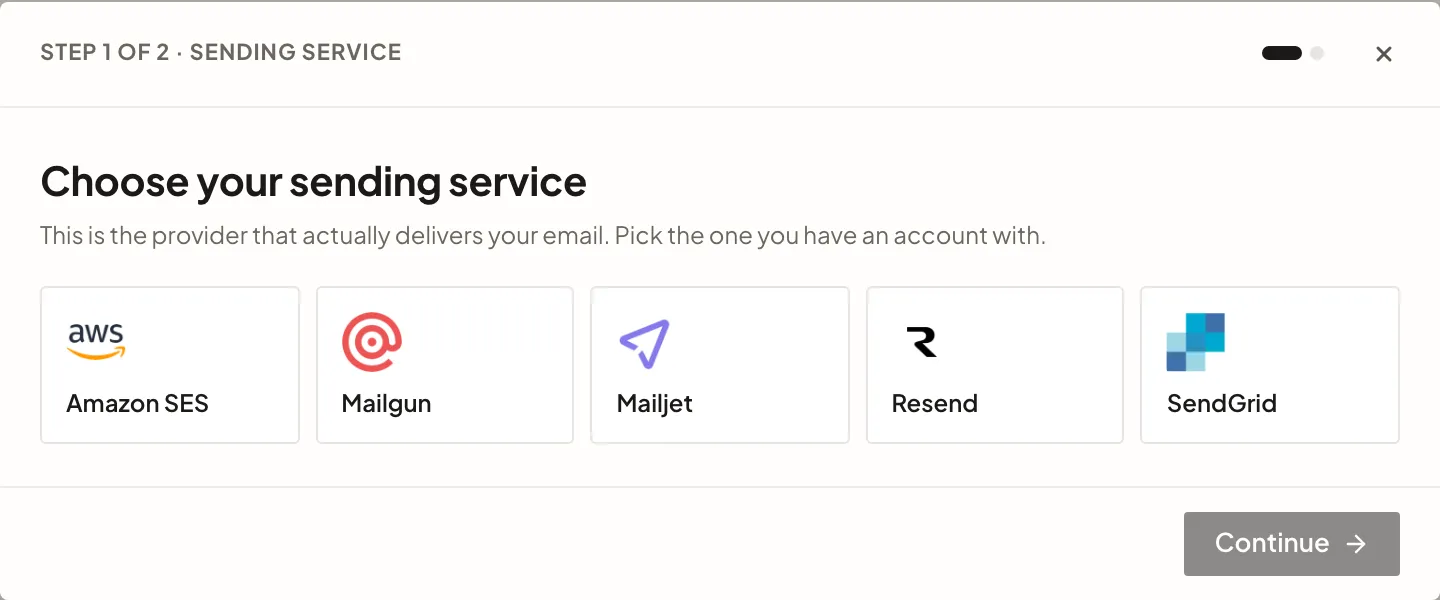
After you create your workspace, your home page shows a Finish setting up checklist. Click Set up next to Connect a sending service, pick your sending service, and paste in its credentials:
- Amazon SES: access keys with the IAM policy the wizard shows you, and the region where your domain is verified. After you connect, open the service in Settings→Sending→Sending services and click Configure webhooks to turn on bounce, complaint, and delivery tracking in one click. → Amazon SES guide
- SendGrid: an API key with Mail Send access. → SendGrid guide
- Mailgun: an API key, your sending domain, and your region (US or EU). → Mailgun guide
- Resend: an API key with sending access. → Resend guide
- Mailjet: your API key and secret key. → Mailjet guide
For sending services other than SES, each guide shows how to turn on delivery, bounce, and complaint tracking after you connect.
If you already send through this account from another tool, you can keep doing so. RadarSend uses its own keys, so nothing else changes.
2. Set up your domain#
Two things make your email yours:
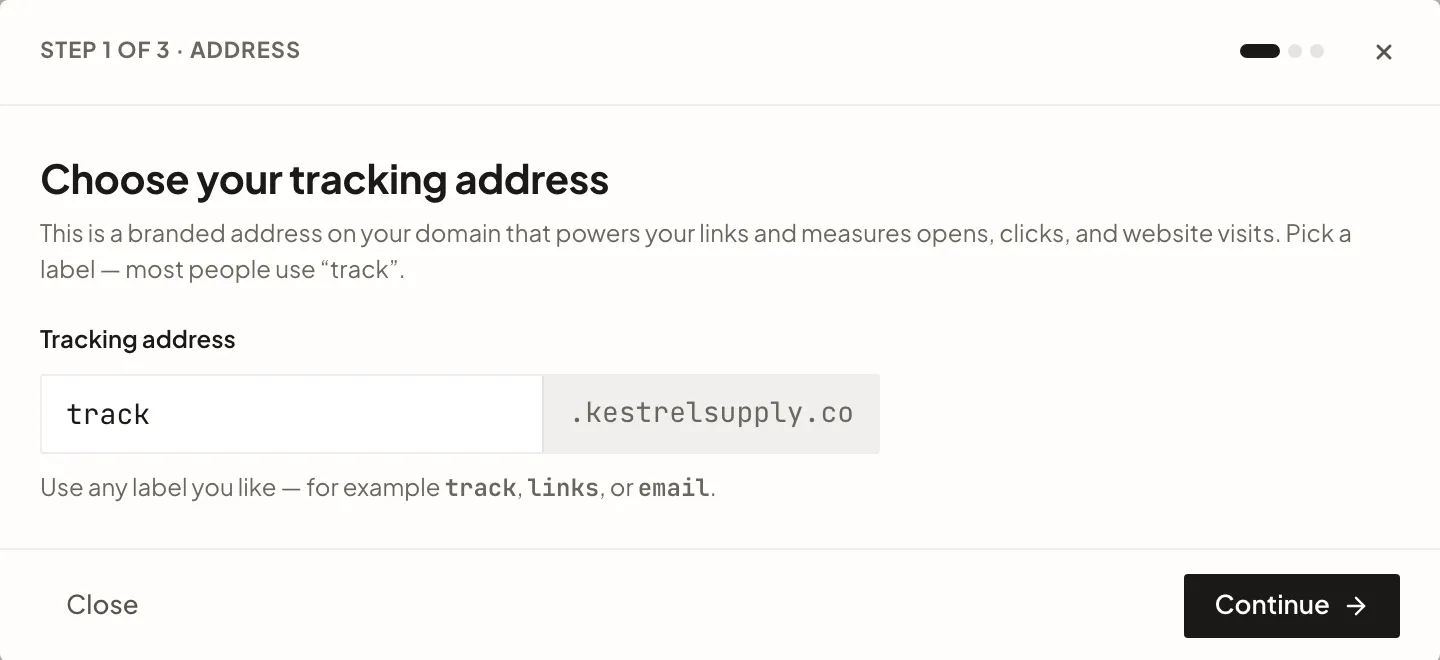
- Your tracking domain. Click Set up next to Set up email tracking. Pick a subdomain label (most people use
track, which becomestrack.yourdomain.com), then add the two DNS records RadarSend shows you. RadarSend checks them automatically and shows the status as they go live. Your tracked links, unsubscribe page, and preference center all run on this subdomain. → Tracking domain guide - Your sending domain. SPF and DKIM are set up at your sending service, and RadarSend verifies your DMARC record. → Sending domain guide
DNS records can take anywhere from a few minutes to a few hours to show up. If someone else manages your DNS, use Email these instructions to someone in the tracking wizard.
The rest of the checklist, setting up email types and adding a sender, takes a few minutes. → Send your first email
3. Import your contacts#
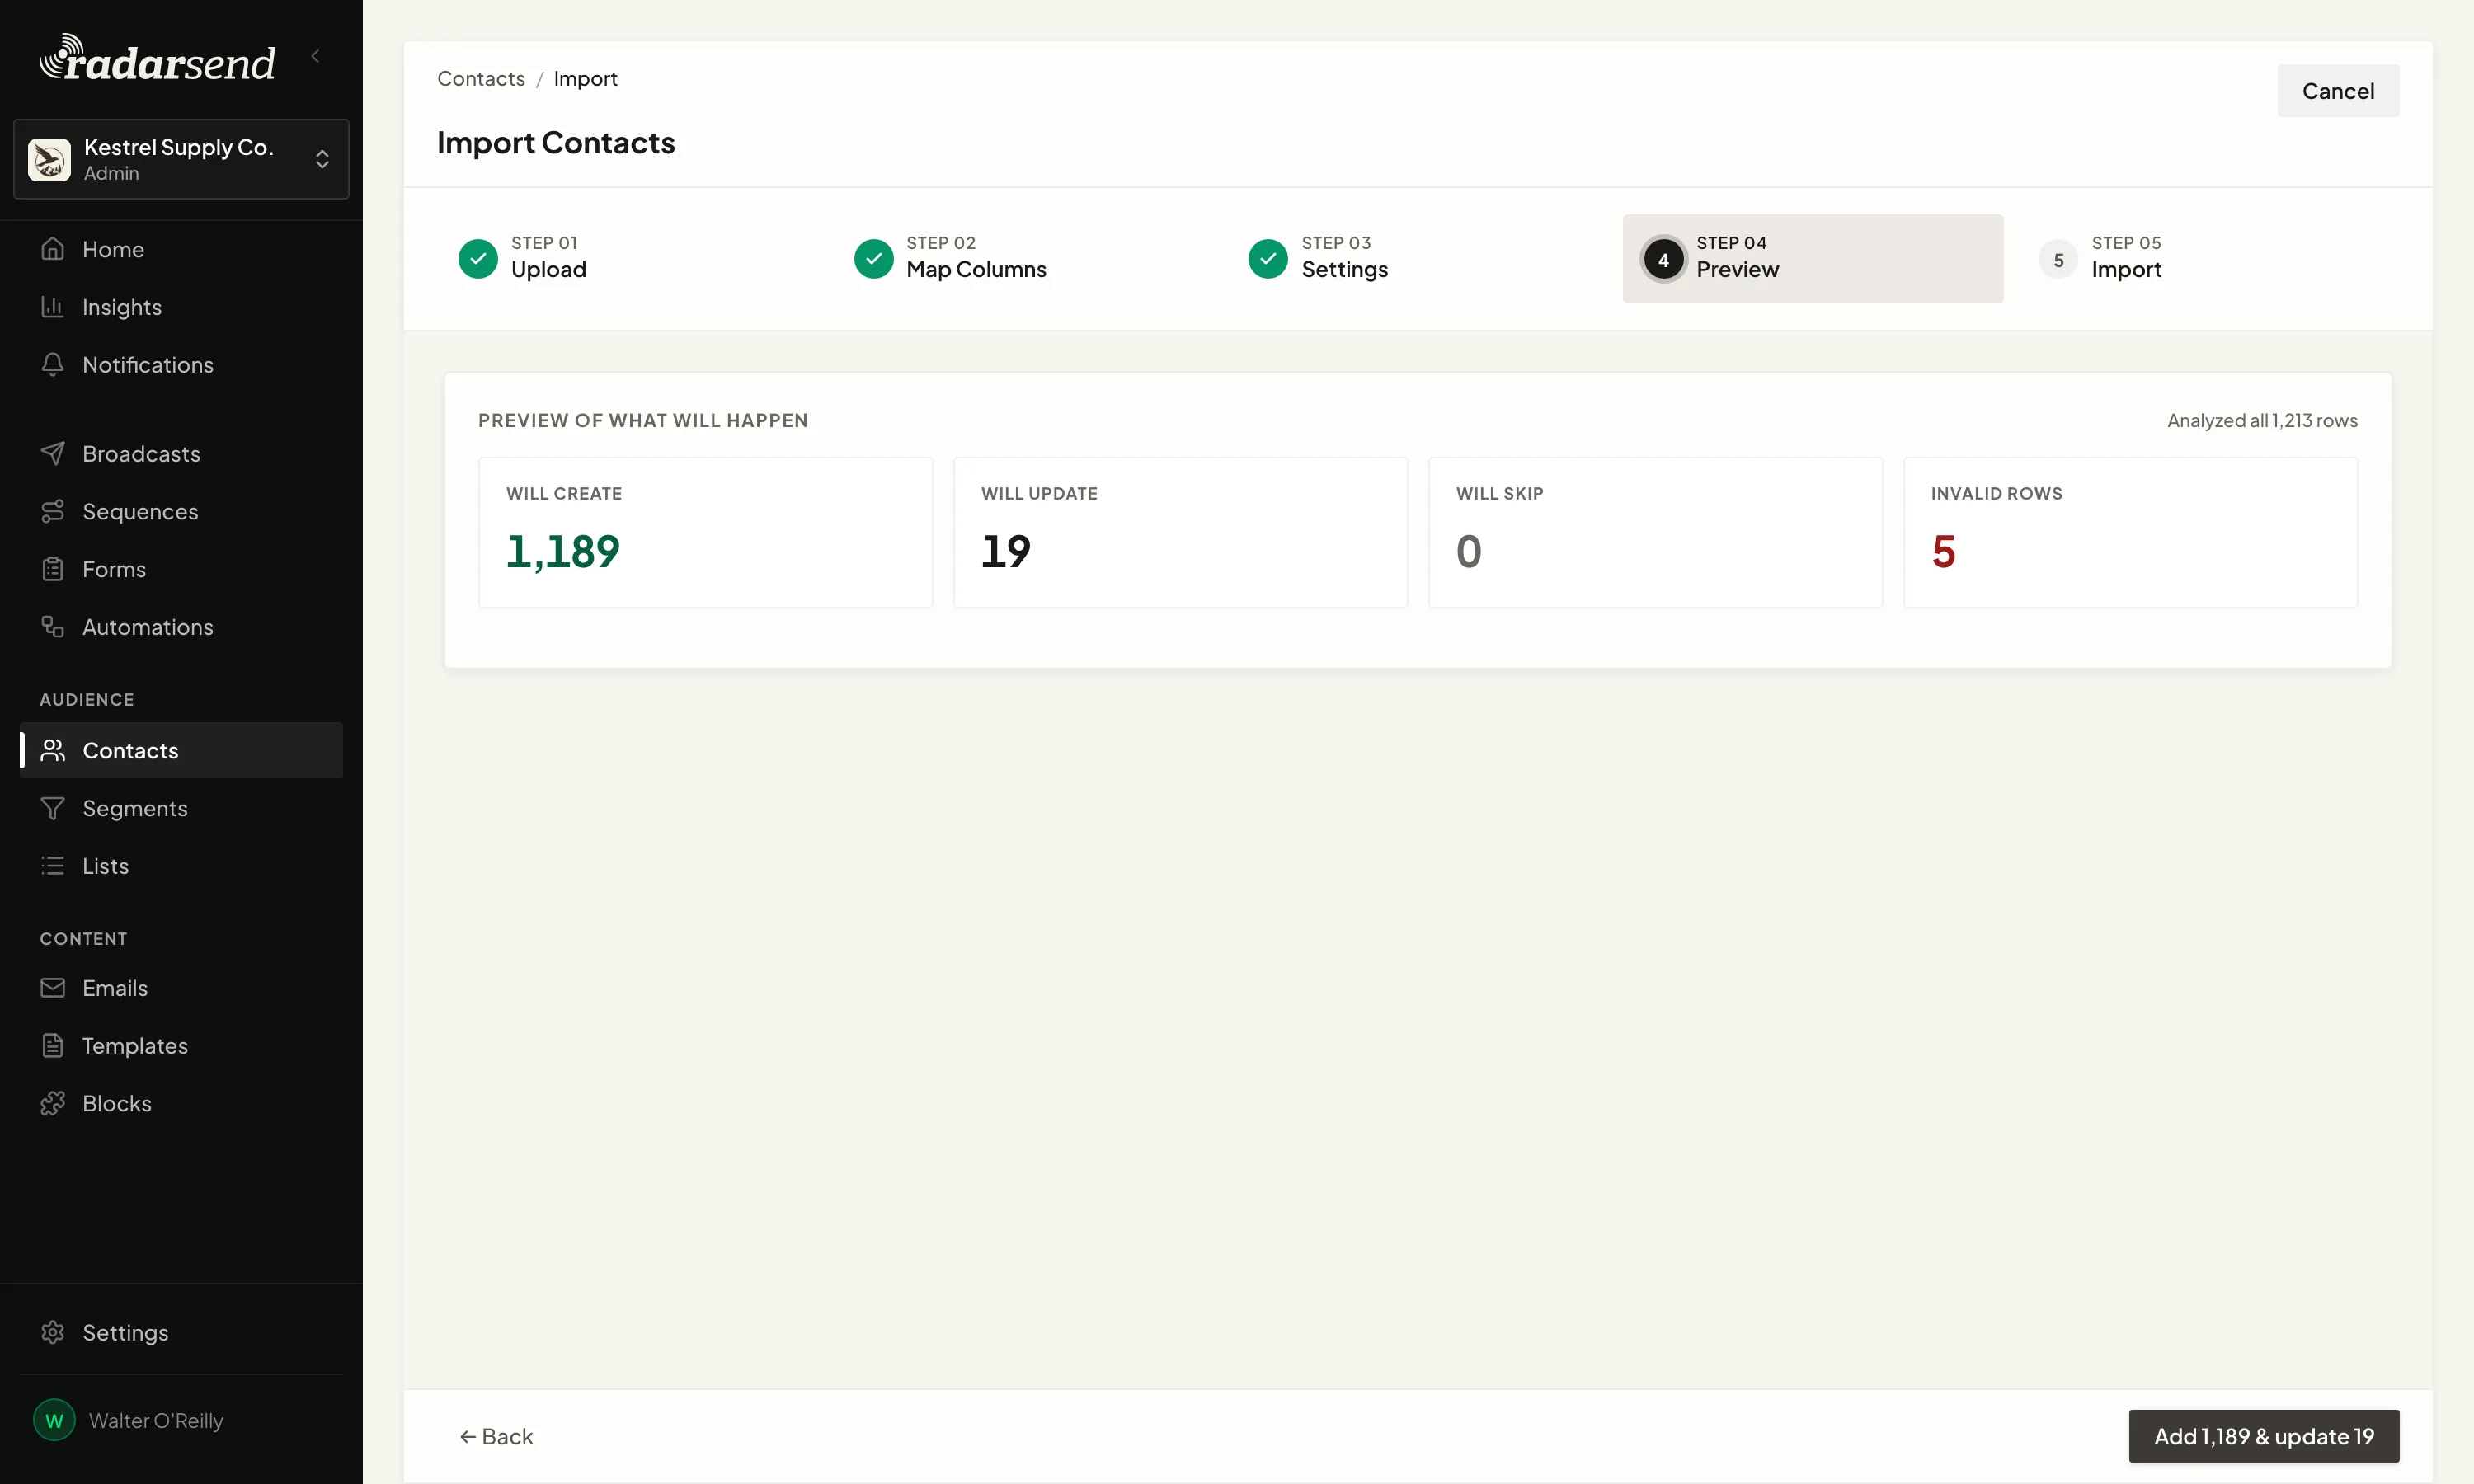
Go to Contacts→Import and start a new import. The wizard has five steps: Upload→Map Columns→Settings→Preview→Import.
- Upload the CSV from your current tool.
- Map your columns to RadarSend fields. You have to map one column to Email. Create custom fields first for anything you want to keep that doesn’t have a match. You can also tag everything in the file, so you can find these contacts later.
- Preview before you import. RadarSend checks for duplicates and shows exactly what will change.
Then import your unsubscribed and bounced contacts as a separate file, choosing Suppress (Do Not Contact) in the Settings step. This keeps people who opted out from being emailed again. It’s the most important step in the whole move. → Import and manage contacts
4. Bring over your templates#
If your current tool lets you export HTML, paste it into a new email in RadarSend. RadarSend also accepts MJML. If your tool doesn’t export HTML (many drag-and-drop editors don’t), rebuild the design in RadarSend. → Create and send a broadcast
5. Rebuild your automations as sequences#
Work through your list of automations one at a time. For each one, set the entry trigger, such as a contact being added to a list, entering a segment, visiting a page, or a field changing. Then add the emails, waits, and branches. Send yourself a test of each email step before you activate the sequence. → Build a sequence
6. Reconnect forms and integrations#
Swap your old signup form embed codes for RadarSend forms, and point any webhooks or connected tools at RadarSend’s API. → API keys
7. Test and switch over#
- Send yourself a test of a real broadcast, and check the links, tracking, and unsubscribe page.
- If you’re on a new sending service or domain, start with smaller sends and build volume over a few weeks. RadarSend can spread a broadcast over hours or days and warm up new domains for you. → Deliverability and warmup
- Turn off automations in your old tool before you turn them on in RadarSend, so nobody gets the same email twice.
- Export any reports you want to keep before you close your old account. Past opens and clicks don’t transfer.
Exporting from your current tool#
For every tool, export unsubscribed and bounced contacts as well as active ones. Many tools keep them in a separate file or behind a filter. Menu names below come from each vendor’s help docs as of September 2026.
Mailchimp#
- Go to Audience and choose the audience.
- Click Export audience, then Export CSV. Mailchimp emails you when it’s ready.
You get a ZIP with separate CSVs for subscribed, unsubscribed, non-subscribed, and cleaned contacts. Import the subscribed file as usual, and import the unsubscribed and cleaned files as suppressions. Custom-coded templates can be exported as HTML; drag-and-drop templates can’t. (Mailchimp help)
ActiveCampaign#
- Go to Contacts→Lists and open a list.
- Set the Status filter (Active, Unsubscribed, Bounced).
- Click Export, tick Other fields to include custom fields, then download from Contacts→Exports within 7 days.
Run one export per status. ActiveCampaign doesn’t export template HTML. (ActiveCampaign help)
Kit (ConvertKit)#
- Go to Subscribers and set the Status filter.
- Tick the header checkbox, then click Select all so you get every subscriber, not just one page.
- Click the ⋮ menu, then Export. Kit emails you a download link that lasts 5 days.
Repeat for Unsubscribed, Bounced, and Complained. (Kit help)
Klaviyo#
- Go to Audience→Lists & Segments and open a list or segment.
- Click Manage list, then Export list to CSV, and pick the properties to include.
- Download from Settings→Other→Downloads.
For opted-out contacts, go to Audience→Profiles→Suppressed Profiles and click Export CSV. Templates can be exported as HTML from Content→Templates. (Klaviyo help)
Brevo#
- Go to CRM→Contacts and select all contacts.
- Click More actions→Export, pick attributes and subscription statuses, then Start export.
- Download from the notifications bell.
Export blocklisted contacts separately with the filter Email→Email campaigns subscriptions→Blocklisted. (Brevo help)
HubSpot#
- Go to CRM→Contacts and pick a view.
- Click Export, choose CSV, and select the properties to include.
- HubSpot emails you a download link.
A full export mixes unsubscribed contacts in with everyone else; filter on Unsubscribed from all email to separate them. Individual email designs can be exported as HTML from each email’s File→Export email design. (HubSpot help)
Sendy#
- Open your brand, then View all lists, and open a list.
- Export the Active tab, then switch to the Unsubscribed and Bounced tabs and export each.
Sendy exports one list and one status at a time, so repeat for each list. Your SES account stays connected as it is.
Listmonk#
- Go to Subscribers and leave everything unselected to export all.
- Click Export.
subscribers.csvdownloads right away.
The status column marks blocklisted subscribers. Per-list unsubscribes aren’t in the CSV; filter by subscription status or use the API to get them. (Listmonk docs)
Mautic#
- Go to Contacts and filter or select the contacts to export.
- Choose Export to CSV (emailed as a link) or Export to Excel.
Mautic’s contact export doesn’t include the Do Not Contact flag. Build segments with the Unsubscribed - Email and Bounced - Email filters and export each, so opt-outs come across. (Mautic docs)
Troubleshooting#
- A DNS record won’t verify. Wait an hour and check again; some DNS hosts are slow to publish. Also check the host name: some DNS hosts add your domain automatically, so
track.yourdomain.comshould be entered as justtrack. - On Cloudflare and the tracking domain won’t go live. Set both tracking records to DNS-only (grey cloud), not proxied.
- SES won’t send to my list. New SES accounts start in a sandbox that only delivers to verified addresses. Request production access in the AWS console. AWS usually answers in about a day.
- The import won’t continue. Make sure the file is a
.csv(up to 500 MB) and that one column is mapped to Email. - Contacts got the same email twice. An automation was probably still running in your old tool. Turn it off there before you activate the matching sequence in RadarSend.
Want a hand?#
We can handle the whole move for you at no charge, or pick up at any step. Tell us about your setup →