Create and embed a form
A form collects signups on your website and saves each one as a Contact. You build it in RadarSend, paste the code into your page, and style it with your own CSS. RadarSend doesn’t add any styling of its own.
Create the form#
- In the sidebar, open Forms and click Create form.
- Give it a Name. Only your team sees it.
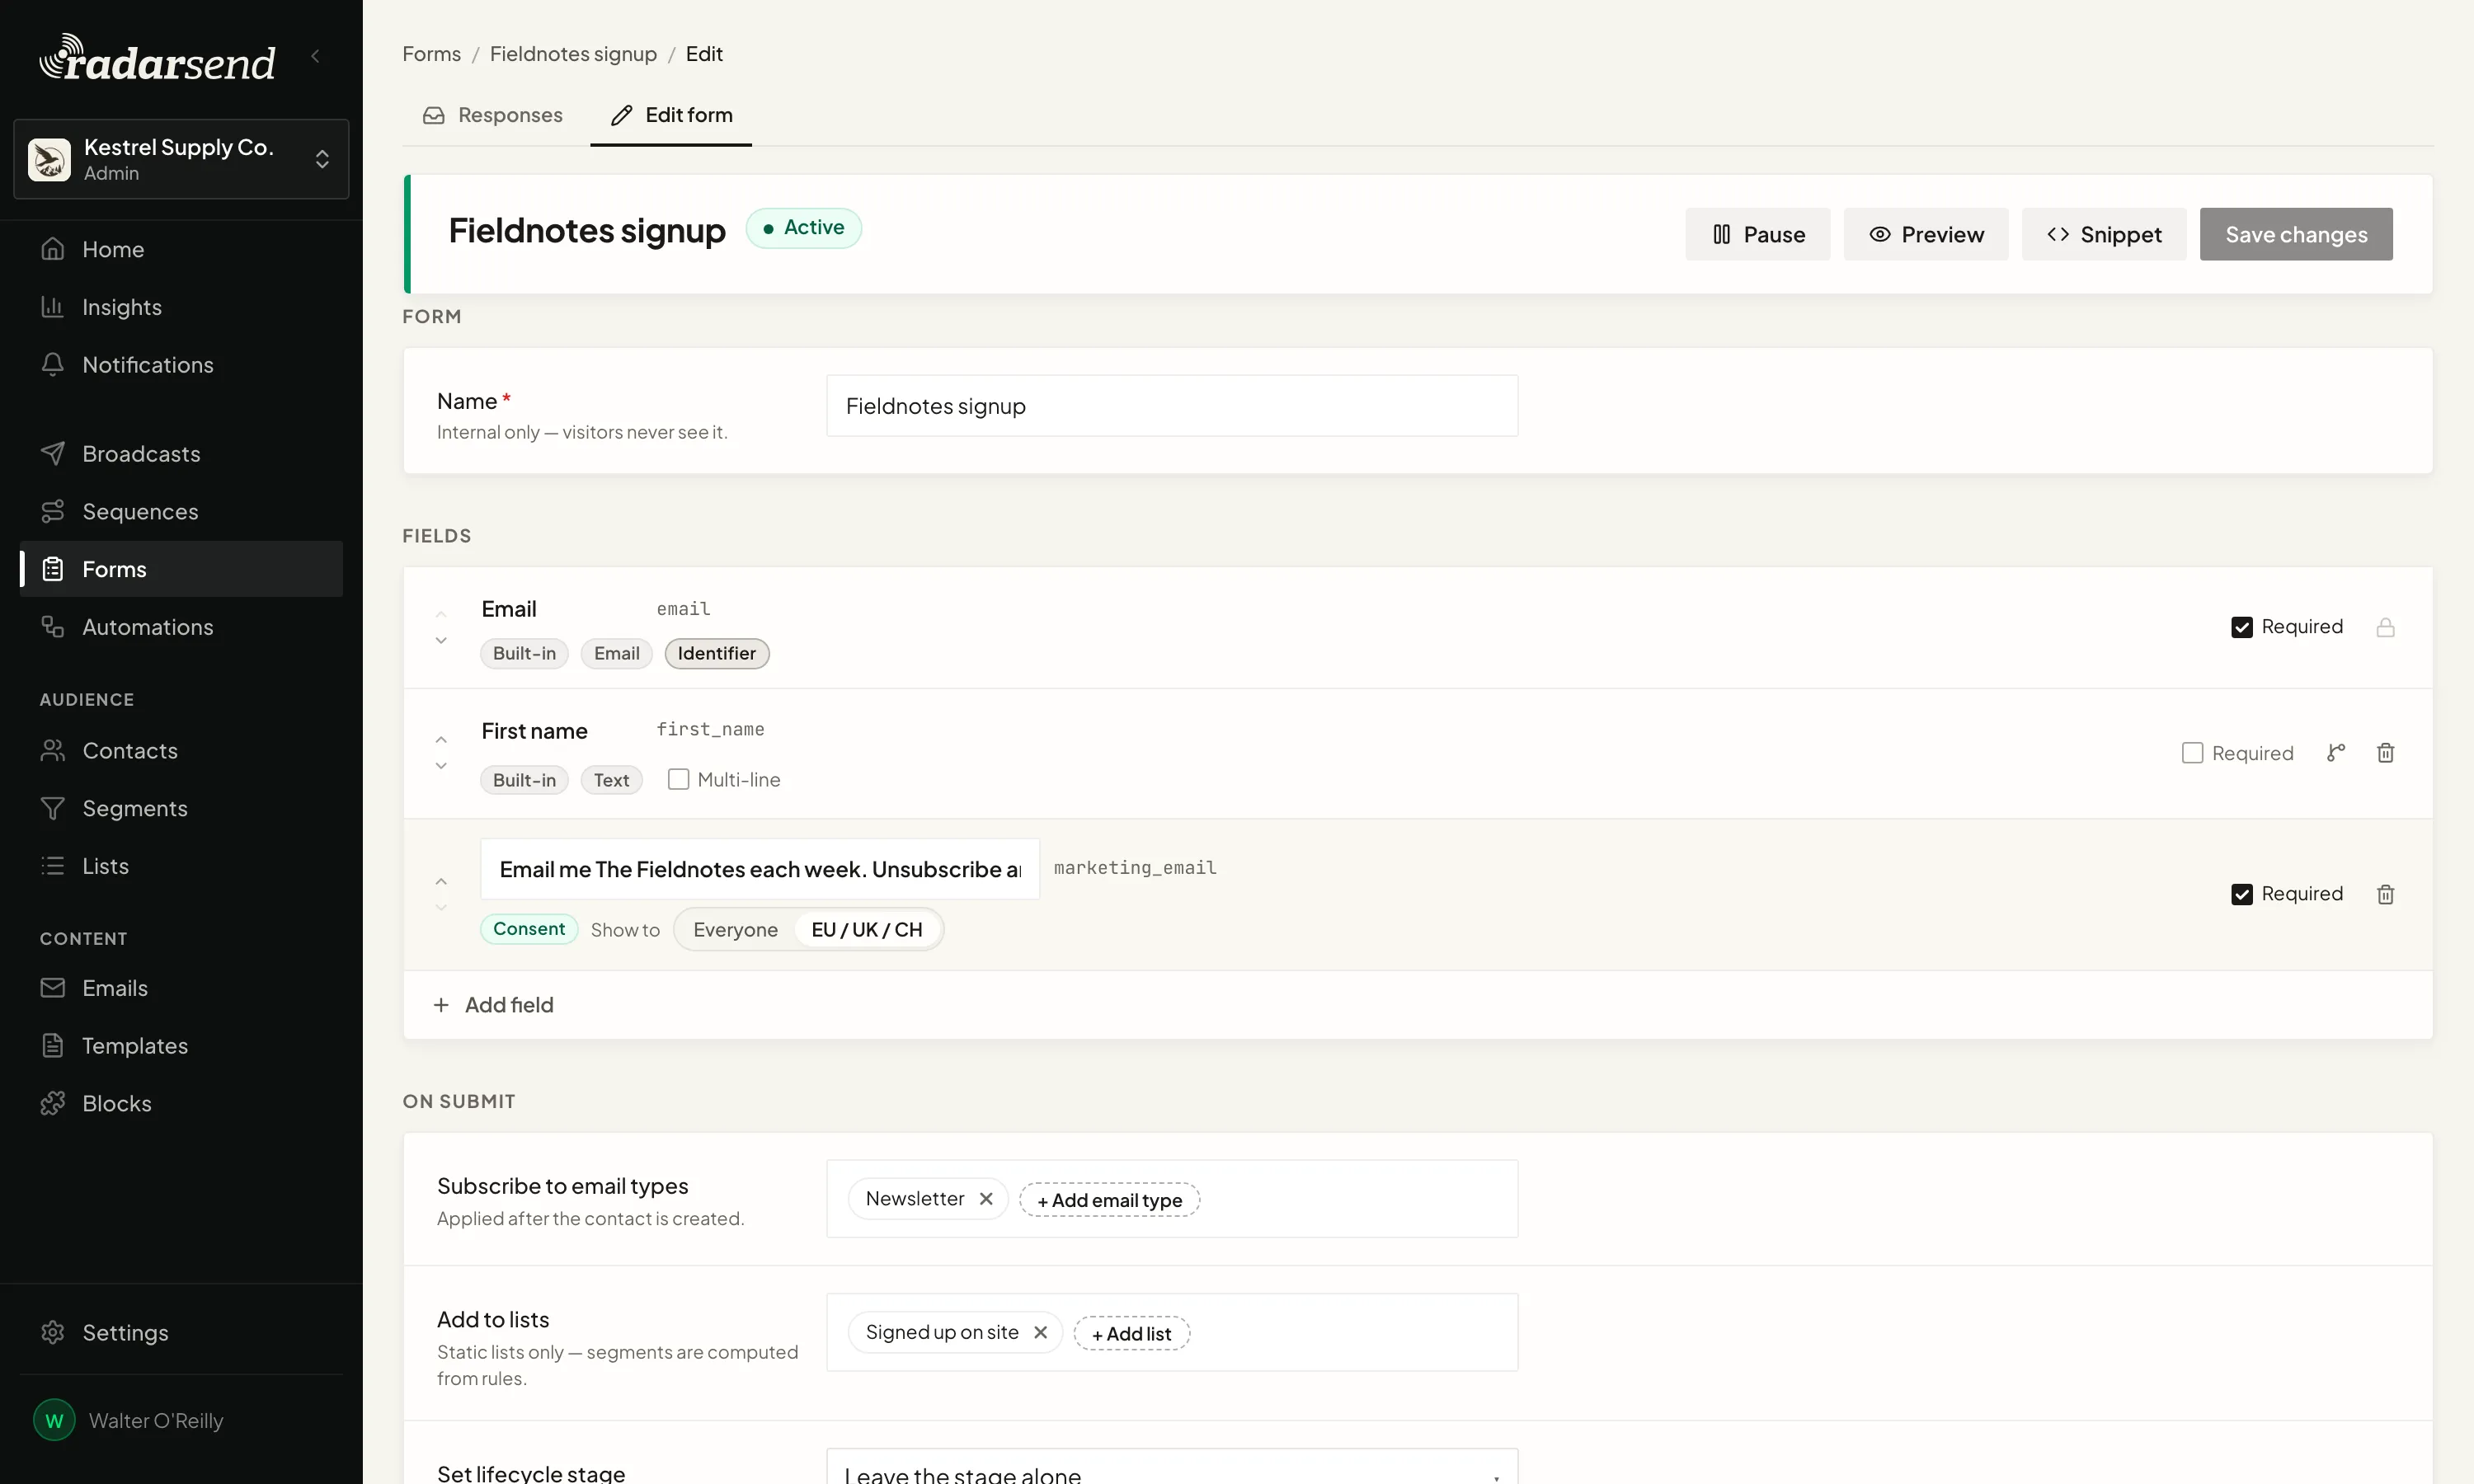
- Under Fields, add what you want to ask. Every form starts with an email field. You can’t remove it, because the email address is how RadarSend knows who the contact is. Click Add field to pick one of your contact fields, Create a custom field, or Add a consent checkbox.
- Turn on Required for anything people have to fill in. Turn on Multi-line for a bigger text box.
- Under On submit, pick any email types to subscribe people to and any lists to add them to.
- Under Emails, turn on Confirmation email if you want people to confirm their address first (double opt-in). Turn on Notify your team to get an email for each response.
- Under Settings, write the Success message people see after they send the form, or add a Redirect URL to take them to a page instead. Add your website under Accept submissions from so the form only works there.
- Click Create form. The Embed snippet window opens, so you can copy the form straight onto your site.
Each field saves to the matching field on the Contact, so answers are ready to use in a Segment right away.
Need another choice in a Select list field? Click Options on the field’s row, type the new option and click Add. The option is added to the custom field itself, so every form, segment and import that uses the field gets it too. To rename or remove an option, go to Settings→Custom fields. Only workspace admins can change a field’s options.
Add it to your site#
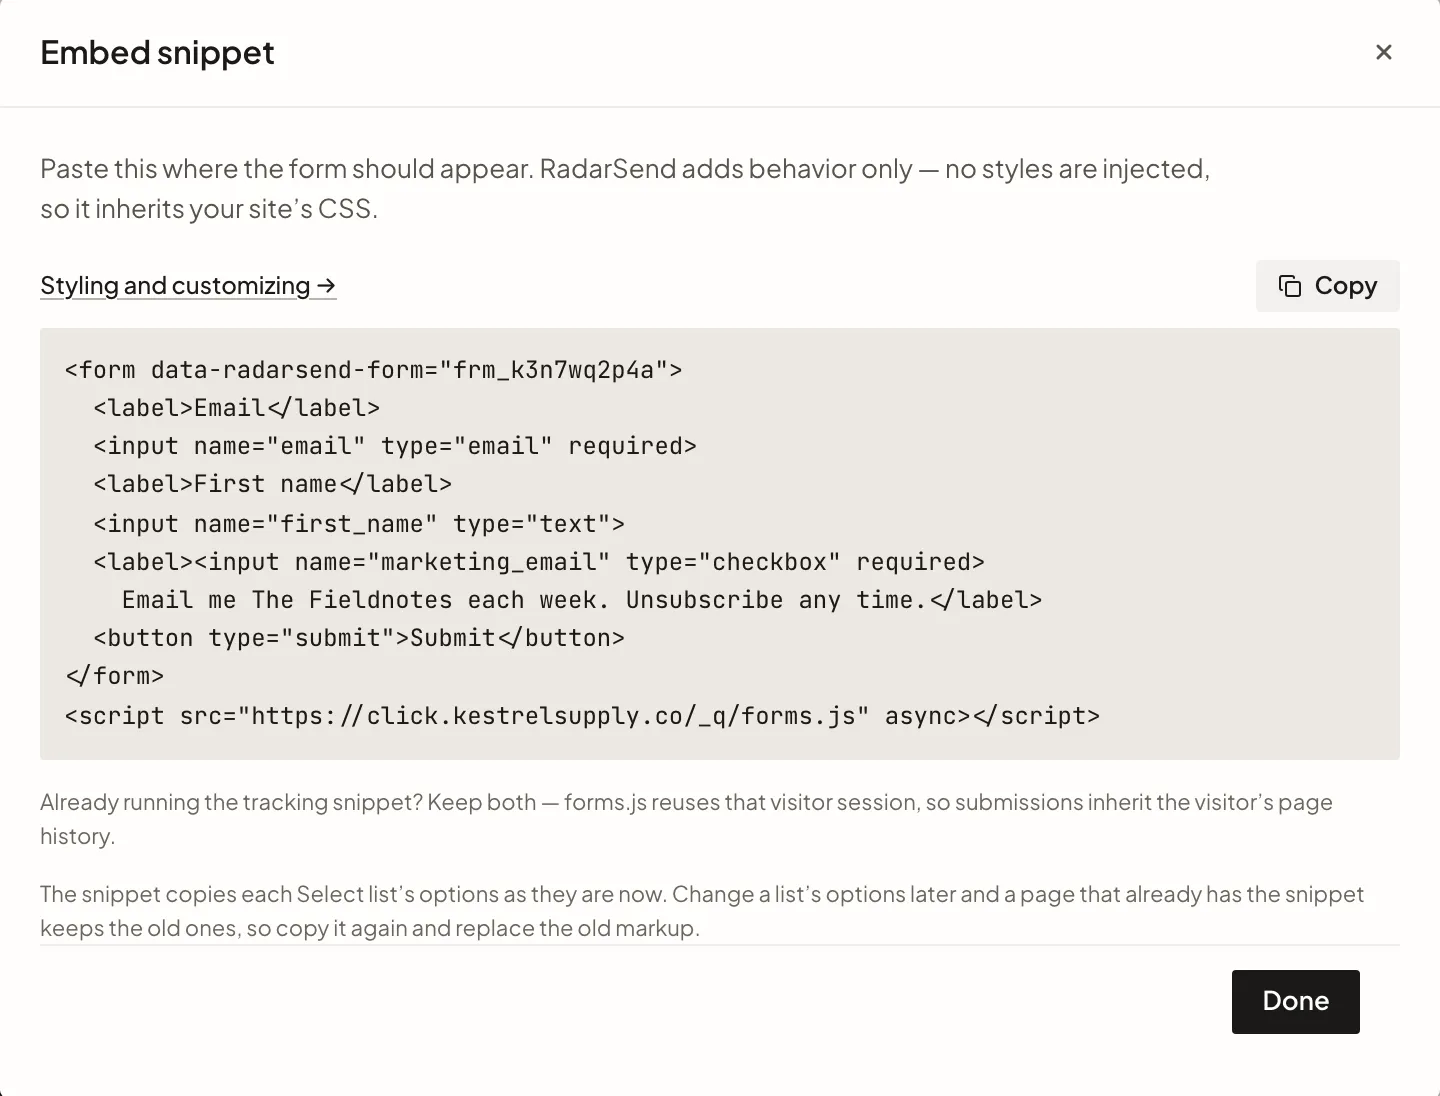
In the form’s editor, click Snippet, then Copy. You can also click Copy snippet on the form’s page, or the copy icon on its row in the Forms list.
To see the form before you paste it, click Preview in the editor. It shows the fields and options as a browser draws them before your site’s styles. Fields that only show for certain answers are all visible there.
The snippet is the form’s HTML plus a script tag:
<form data-radarsend-form="frm_abc123">
<label>Email</label>
<input name="email" type="email" required>
<label>Service</label>
<select name="service">
<option value="">Select…</option>
<option value="Website">Website</option>
<option value="Branding">Branding</option>
<option value="Other">Other</option>
</select>
<button type="submit">Submit</button>
</form>
<script src="https://t.example.com/_q/forms.js" async></script>
Paste both parts into your page where the form should go. Change the labels, layout and styling however you like. Just keep:
- the
data-radarsend-formattribute on the form, and - each input’s
name. It tells RadarSend which field the answer belongs to. Change it and the answer won’t reach the contact.
Leave the script address as it is. It points at your tracking domain (t.example.com here), and the form only works when the script loads from there.
A Select list field’s options are copied into the snippet as they are when you copy it. If you add, rename or remove an option later, the page keeps the old list, so copy the snippet again and replace the old markup. (The form in RadarSend picks up the change on its own. It’s only the HTML on your page that doesn’t.)
If you already have the RadarSend tracking snippet on your site, keep it. With both in place, a new contact comes with the pages they visited before signing up.
Show a field only when it’s needed#
A field can wait for a certain answer before it appears. For example, a “Tell us more” box can show up only when someone picks Other.
On the field’s row, click the Only show this field when… button, then pick the field it depends on and the answer to look for. The field gets a Conditional badge, and the snippet sets it up to hide and show on its own. While it’s hidden, it isn’t sent and it isn’t required.
Record where visitors came from#
When someone reaches your page from a link with UTM tags, the form can save those tags with their response. Say the link is:
https://example.com/pricing?utm_source=newsletter&utm_campaign=spring
Add a hidden input inside the form for each tag you want to keep:
<input type="hidden" name="utm_source">
<input type="hidden" name="utm_campaign">
When the form loads, RadarSend copies each tag from the page’s address into the input with the same name. Here, utm_source gets newsletter and utm_campaign gets spring. If a tag isn’t in the address, its input stays empty. Any tag that starts with utm_ works.
- Only the current page counts. The tags have to be in the address of the page the form is on. If someone lands on your home page with UTM tags, then clicks through to the page with the form, the tags are gone and nothing is saved.
- You can set a value yourself. An input that already has a value is left alone, so
<input type="hidden" name="utm_source" value="footer">always sendsfooter. - Tags are saved with the response. You’ll see them when you open it. To save one on the Contact too, create a custom field with the same key (for example
utm_source) and add it to the form. Keep its input hidden in your markup.
See responses#
Click the form in the Forms list. Its page is its responses: you’ll see how many people viewed the form and how many sent it over the last 7, 30 or 90 days. Click a response to see everything they entered and the page they were on. Export CSV downloads them all.
Change or pause a form#
To change a form, open it and click the Edit form tab. Save changes stays greyed out until you change something. If you try to leave the page with changes you haven’t saved, RadarSend asks before it lets you go.
If a save changes the form’s fields, the editor reminds you to copy the snippet again. The copy on your site doesn’t update on its own.
To stop taking responses, click Pause on the form’s page or in the editor. It takes effect straight away, with no need to save. Click Activate to turn it back on.
Follow up automatically#
To send a welcome email or start onboarding, create a Sequence and set its entry trigger to Submits a form. The form’s After submitting section lists the Sequences it starts.
Troubleshooting#
- The submit button is greyed out. The form’s paused. Open it and click Activate.
- The form works on your live site but not your test site. Accept submissions from only lists your live site. Add the test site too.
- An answer isn’t showing on the contact. Check that the input’s
namestill matches the field in RadarSend. - A new option doesn’t show up on your form. Your page still has the snippet from before you added it. Copy the snippet again and replace the old markup. Your browser’s console names the missing options.
- An option gets an error when someone picks it. It was renamed or removed from a field set to Restrict to these values, and your page still offers it. Copy the snippet again, or fix that
<option>by hand.
Next#
To change how the form looks, show your own thank-you message or add your own checks, see Style and customize a form.